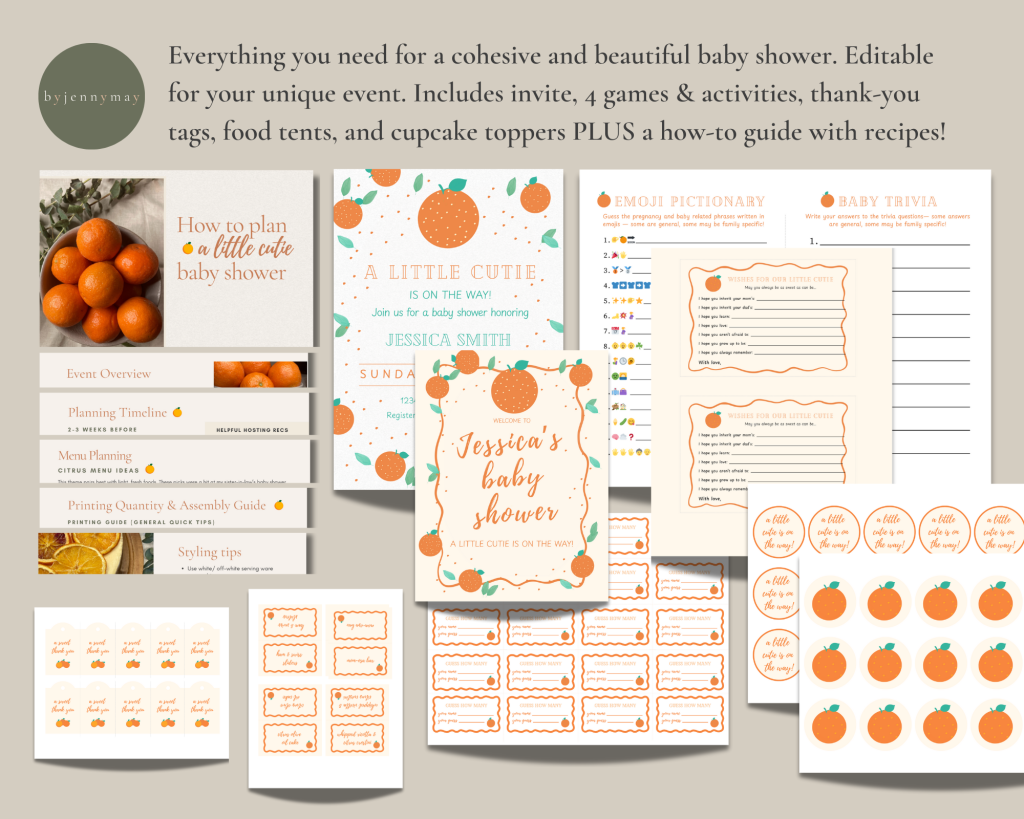
Planning a Little Cutie baby shower and using printables? You’re going to love how easy (and budget‑friendly) it is to print and assemble everything at home. This step‑by‑step guide walks you through exactly how to print, cut, and assemble your “A Little Cutie Is On The Way” baby shower decorations so they look polished, professional, and party‑ready.
Whether you’re hosting the shower yourself or helping a friend, this guide is beginner‑friendly and stress‑free.
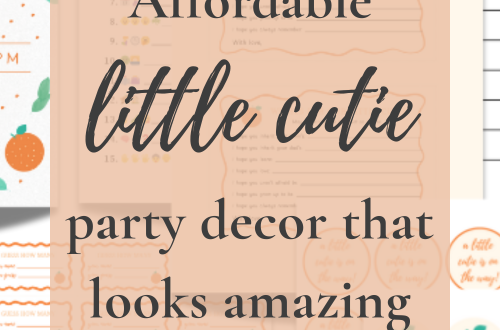
You can grab my Full Little Cutie Printable Bundle here—it includes everything from the invitations to the cupcake toppers and activities so you can just print and go without planning a thing!
Getting Started— What You Need Before Printing
Before you print anything, gather these basic supplies. You probably already have most of them at home.
At Home Printing Supplies
- Home printer (inkjet or laser both work)
- White cardstock (recommended: 80–100 lb)
- Printer ink (check levels before you start)
✔ Pro tip: Cardstock makes your decorations feel sturdy and high‑quality compared to regular paper.
Easy Cutting & Assembly Supplies
All you really need for assembly are scissors, a way to punch a small hole, tape, string, and toothpicks. If you want to maximize the professional look, and save yourself hours, definitely check out the linked tools below to make this DIY project as easy as possible.
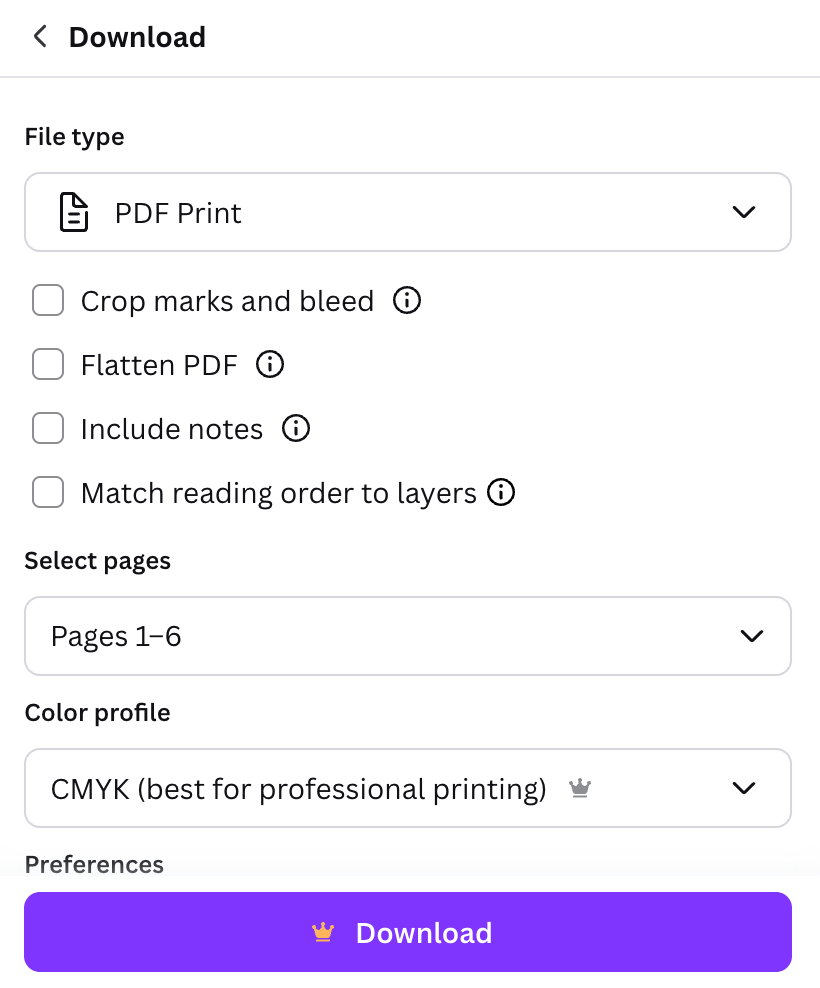
⬇️ Step 1: Download and Customize Your Files
After downloading your Little Cutie baby shower printables:
After downloading your Little Cutie baby shower printables:
- Edit invitations and food tags in Canva
- Select “Share” and “Download” to save your files as PDFs on your computer. Be sure to select PDF Print for best quality!
Pro Tips
- If your files include multiple items (invites, food tents, tags), print one page first to test before printing everything
- Avoid printing directly from your browser for best quality
🖨️ Step 2: Printer Settings (This Part Matters)
For the best results, adjust your printer settings carefully.
Recommended Print Settings for a Professional Look At Home
- Paper size: US Letter (8.5 × 11)
- Scale: 100% or “Actual Size”
- Orientation: Auto or Portrait
- Quality: High or Best
- Color: Full color
❌ Do not select “Fit to Page” — this can shrink your designs.
Print one test page to confirm colors and sizing before continuing.
Step 3: Cut Out Your Decorations
Once printed, it’s time to cut everything out. Follow the trim lines and borders provided in the design to get clean, straight cuts, every time.

Cutting Tips
- Use a paper trimmer for straight edges
- Use scissors or circle punch for rounded shapes
- Take your time — clean edges make a big difference
Step 4: Assemble Each Decoration
Here’s how to assemble the most common Little Cutie baby shower printables.
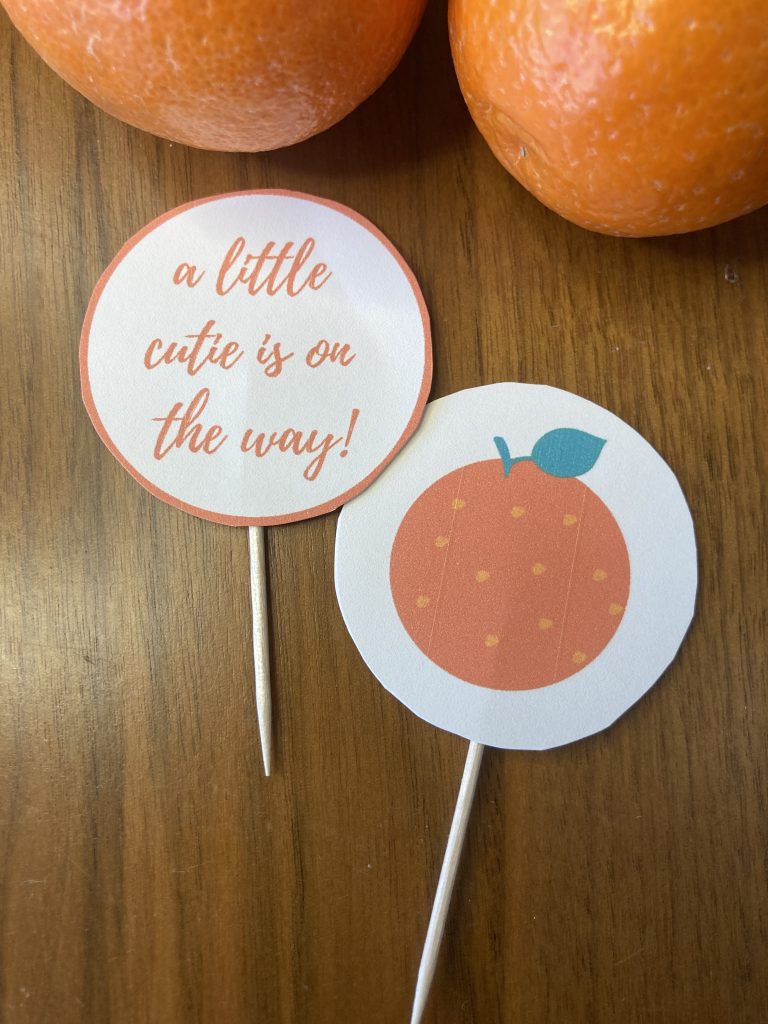
Cupcake Toppers
- Use double-sided tape to secure a toothpick between the front and back side circle designs of the cupcake toppers.
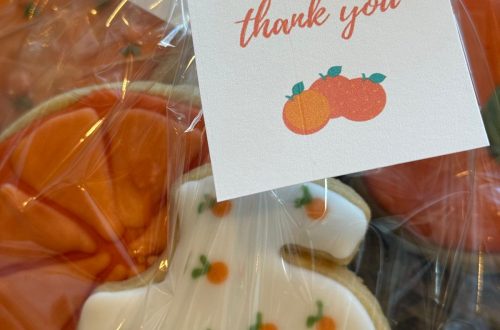
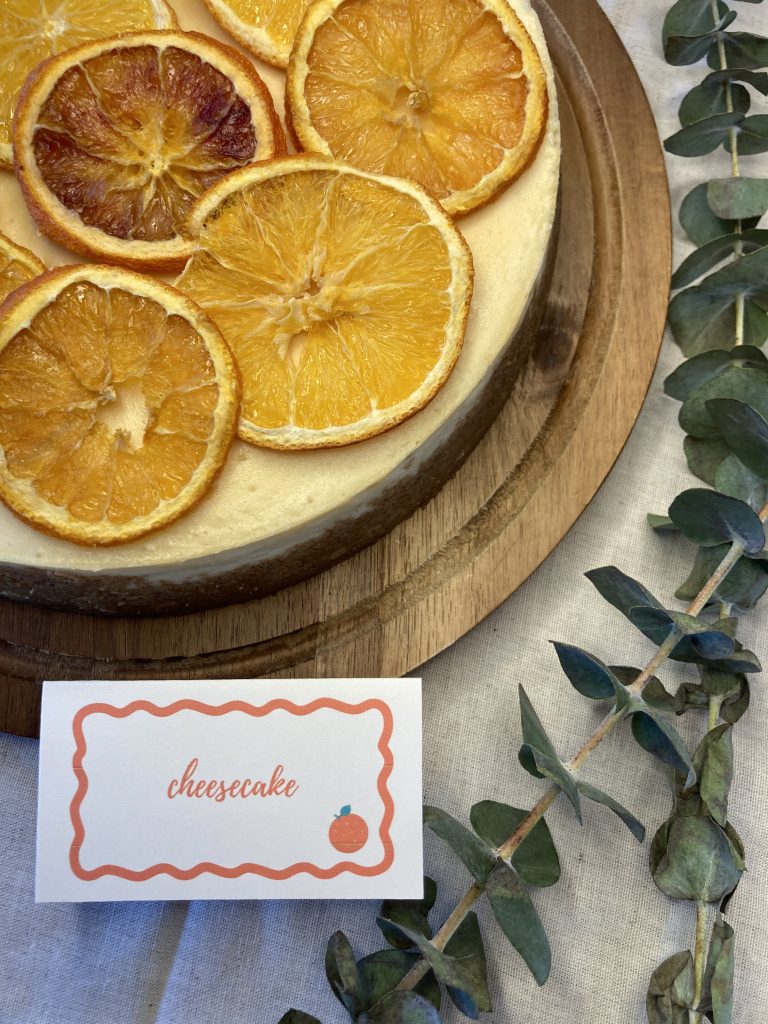
Food Labels
- Fold food labels down the middle so label is shown on the front and back
Step 5: Styling & Display Tips
This is where your Little Cutie theme really shines 🍊
Easy Styling Ideas
- Pair printables with real oranges or faux citrus
- Use white tablecloths with orange accents
- Add greenery or eucalyptus for a fresh look
- Keep spacing simple — less clutter looks more polished
You don’t need to overdecorate. A few well‑placed printables go a long way.
Common Printing Mistakes to Avoid
- Printing on regular paper instead of cardstock
- Forgetting to check printer ink
- Using “Fit to Page” instead of 100%
- Rushing the cutting step
Avoiding these small mistakes helps your decorations look professionally made.
Final Thoughts
Printing and assembling “A Little Cutie Is On The Way” baby shower decorations at home is simple, affordable, and totally doable — even if you’ve never used printables before.
With the right supplies and a little prep, you’ll have adorable citrus‑themed decor that looks store‑bought without the price tag.
If you’re still planning your shower, be sure to check out Little Cutie baby shower decor checklist and grab your matching citrus‑themed printables!
Happy hosting 🍊✨
This post contains affiliate links. If you make a purchase through these links, I may earn a small commission at no extra cost to you. As an Amazon Associate, I earn from qualifying purchases.